
This is the kind of thing that keeps you up at night. It’s also a very cool project. Imagine taking a musician’s most prized possession and cutting in in half! A bit like the magician who cuts his wife in half on stage…except this is for real.
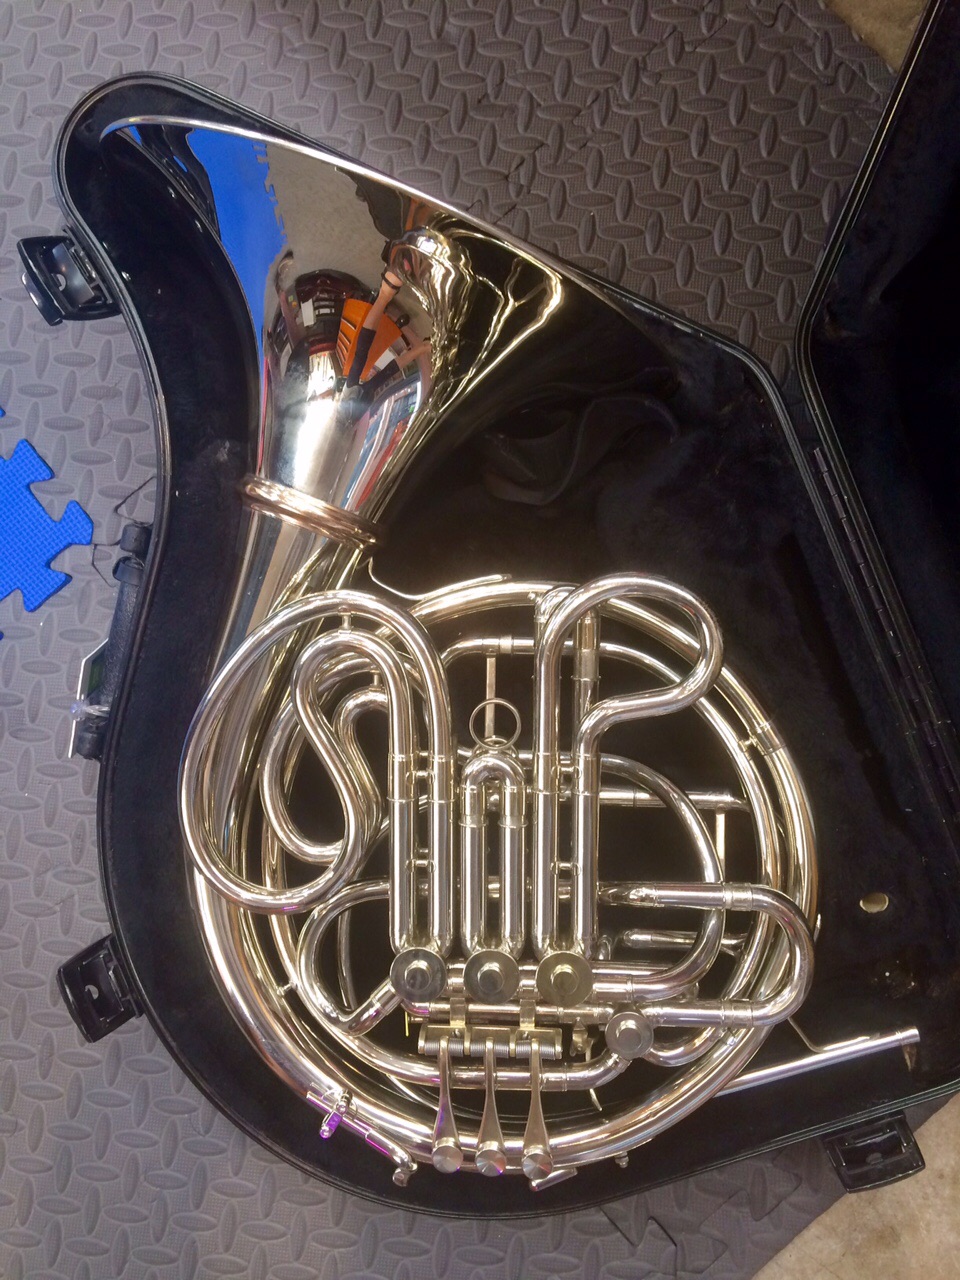
Why would you do that, you ask? French Horns are odd shaped instruments that come in cases molded to their oddity. If you need to fly anywhere, it doesn’t fit into the overhead compartment and you wouldn’t dare put it in with your luggage. So you cut it in half and store it in a case made for that purpose.
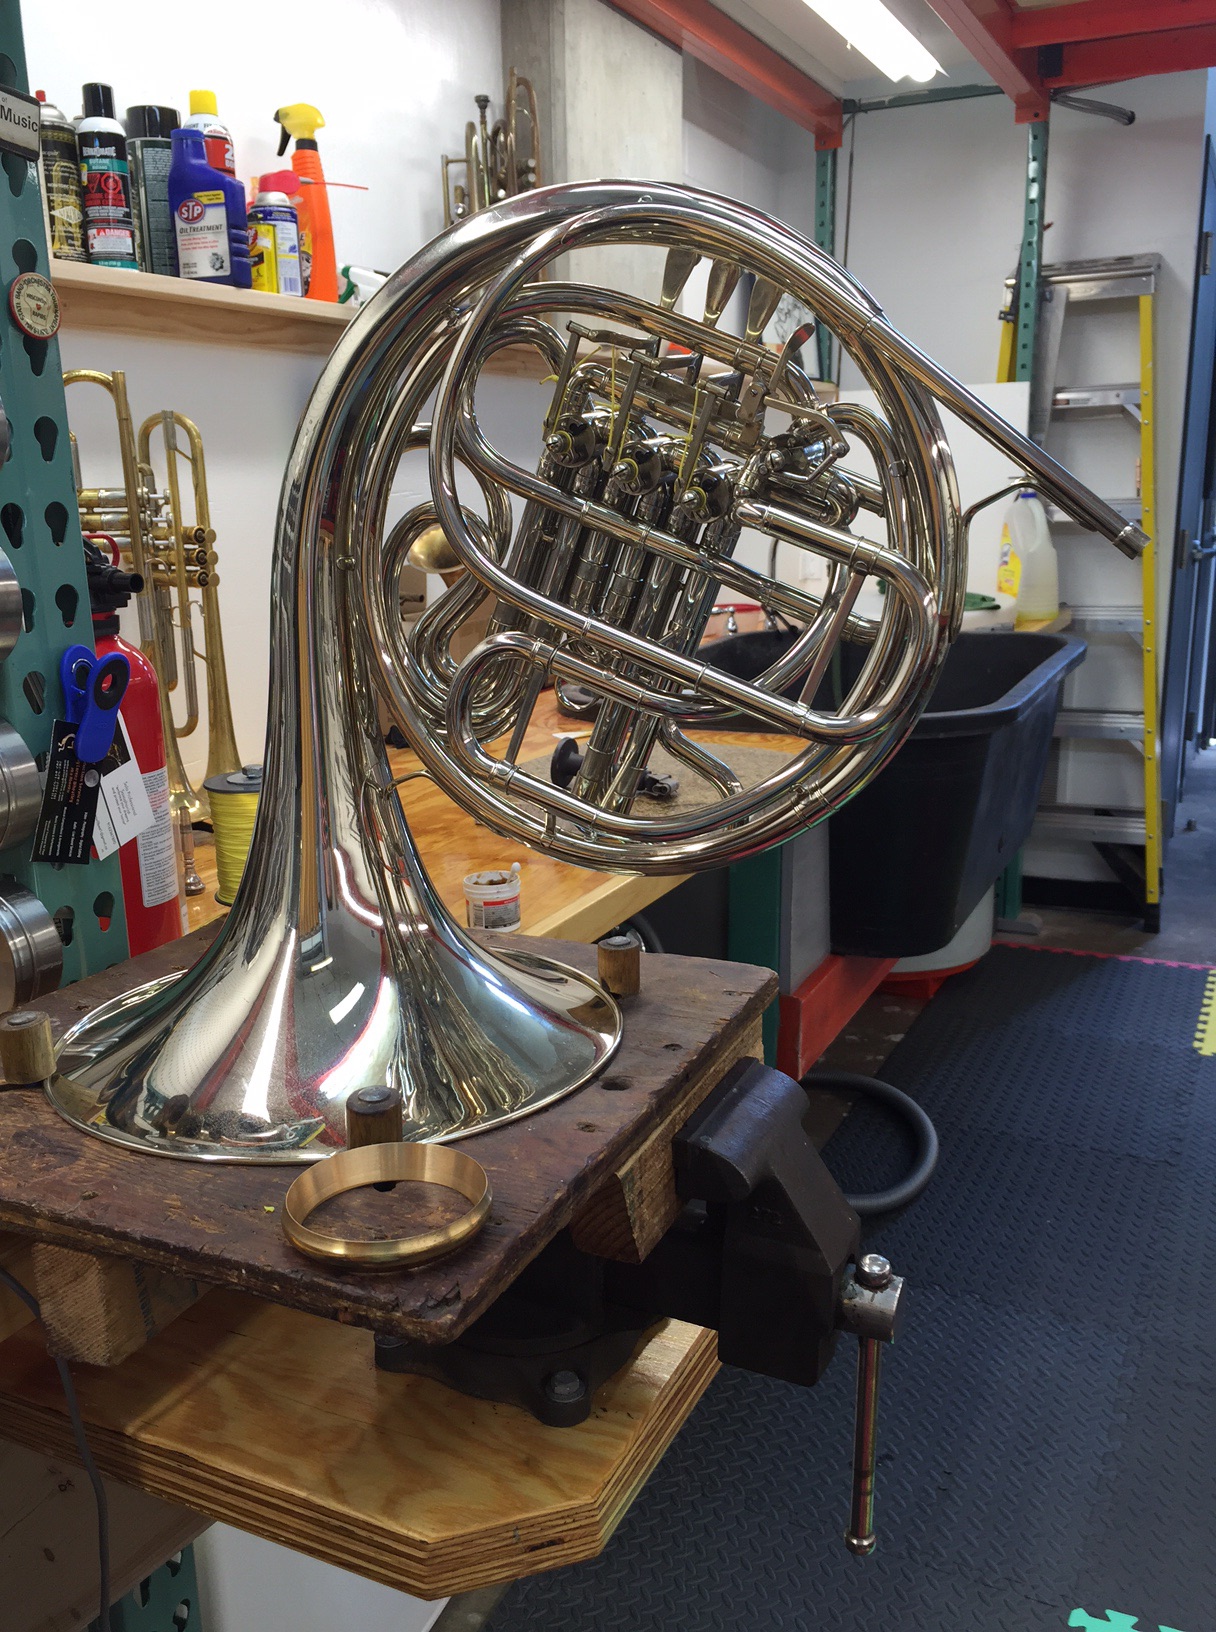
Horn in full form
The first step is to remove the main bell brace and four minor braces to remove the bell from the rotor valve section. Next you unsolder the bell at the ferrule to separate the bell from the body of the instrument. Once the bell is off, you try on the pre-manufactured rings that will allow you to attach and detach the bell.
This is where I encountered a snag. They were the wrong size. The taper was 12 degress instead of 14. So I had to order a new pair overnight so I could send my client off to music camp. I’m still trying to get my money back on the first pair, but nevermind.
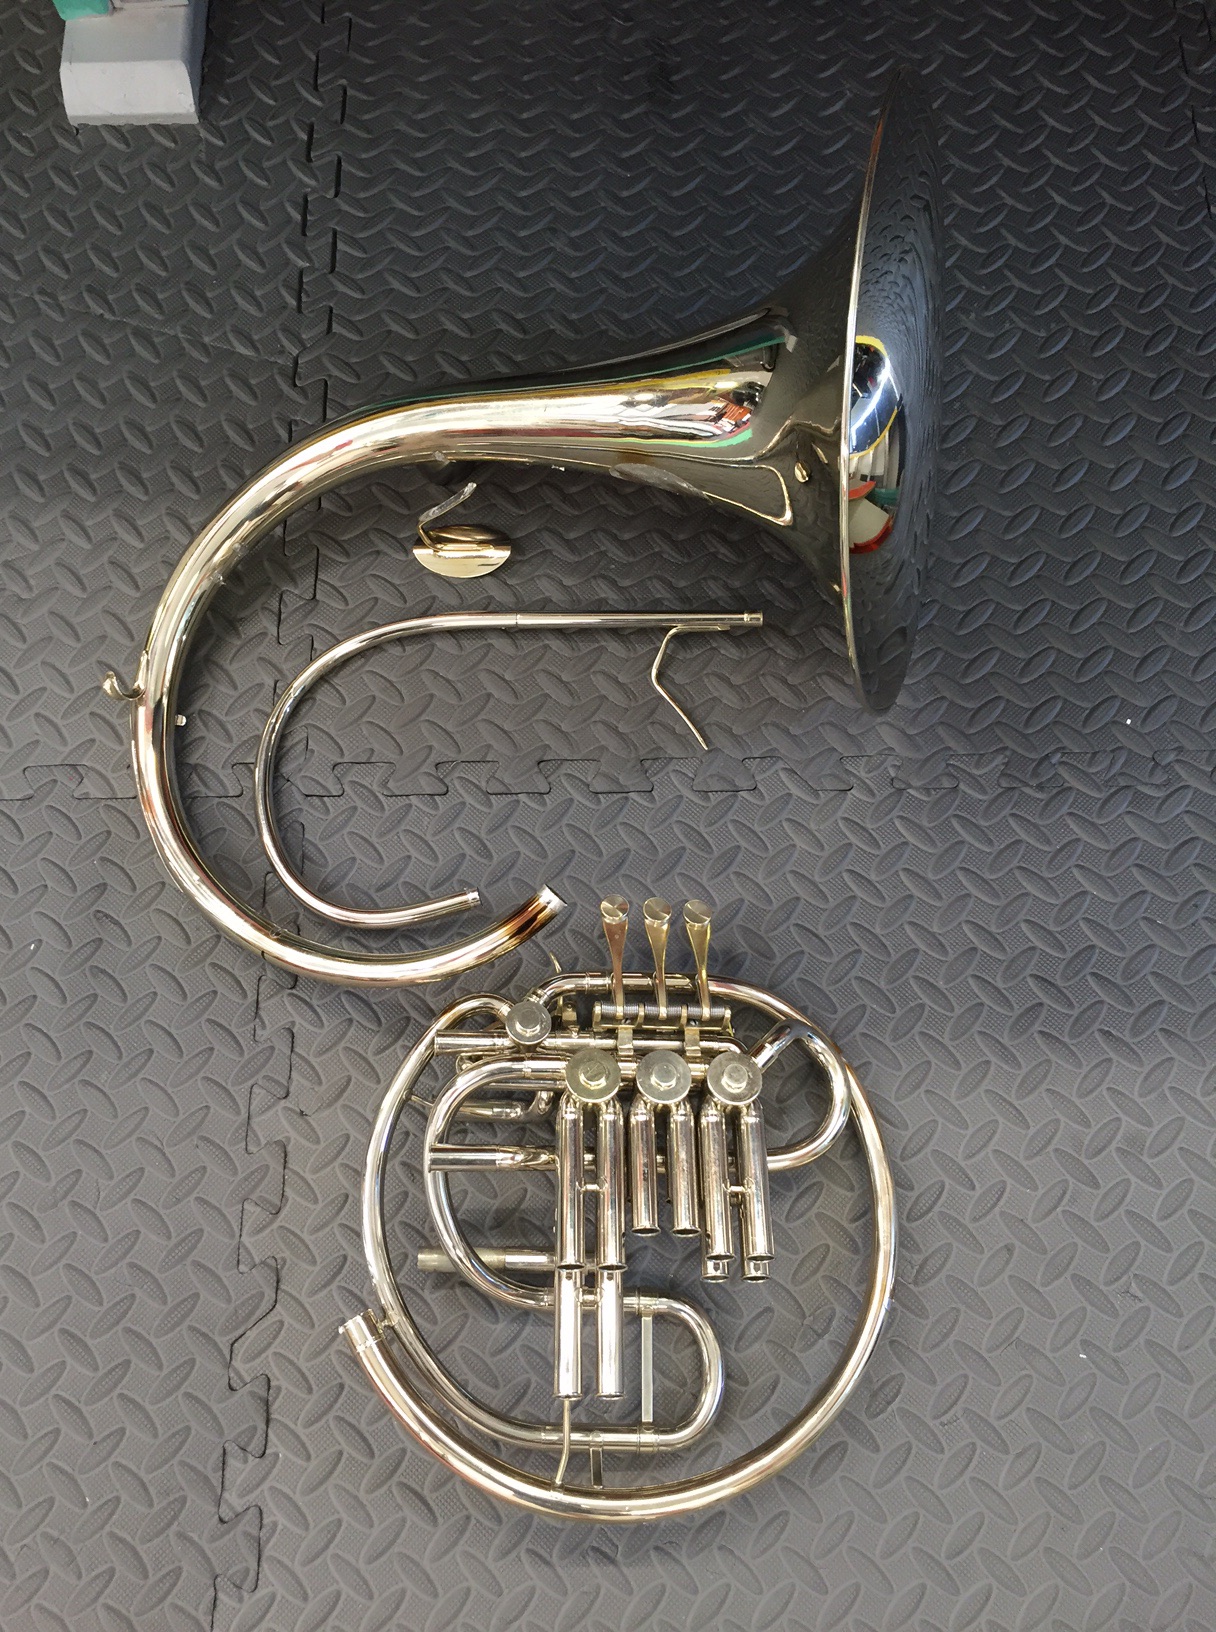
Removing the head from the body
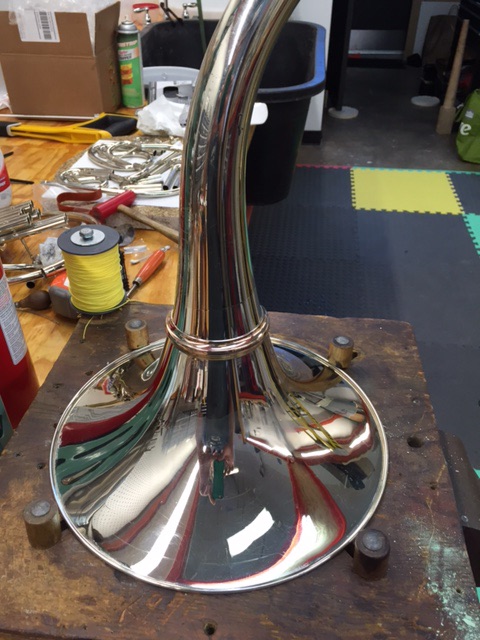
The next move is the one that can make you break into a sweat. If you get this wrong, you’re screwed – to the tune of half the cost of a good horn. So you do it ve-ry care-ful-ly. You scribe the bell by taking super accurate measurements from the rim, making sure that it is level. Then you take a jeweler’s saw, cross your fingers, and…cut.
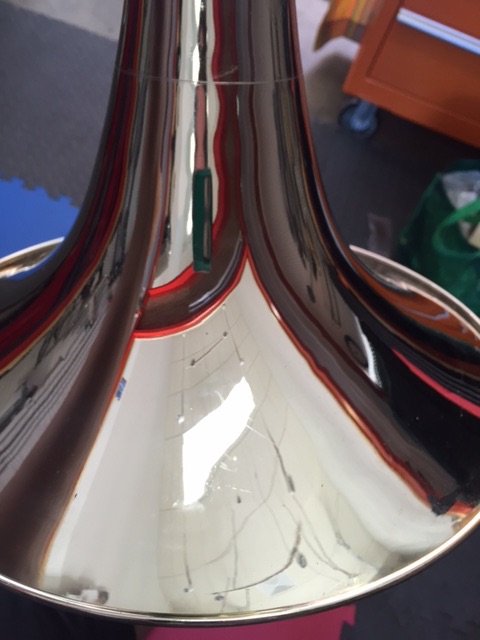
Scribing the bell

Next you install the male half of the ring on the bell flare and the female on to the throat. Now it’s time to mate! This is where it gets dicey – right? You have to solder each half separately without permanently soldering the rings together. Separate but equal, together and apart.
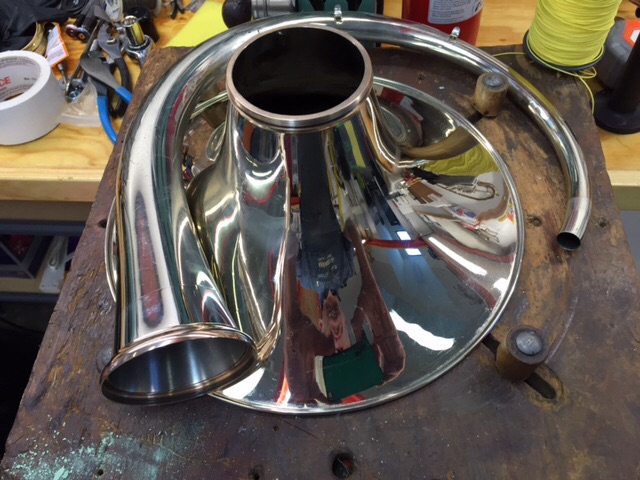
Rings on male and female
Female meets male
Once that’s done, you can tale a deep breath and look for the light at the end of the tunnel. I added a couple of cool gizmos, including an adjustable (pinky) finger hook and an adjustable duck’s foot/hand crutch. These make the instrument more comfortable to play.

Final touches
I like to make sure my clients know how to work with their newly severed horn. It’s important to keep it level as you screw the two halves together, and then make sure you do NOT tighten it too tight. That’s Paula. She recently took up the horn after many years of absence and is so excited about it that she has signed up to go to music camp. She says her favorite day is the day she has her lesson. I’m sure all MY students felt the same…?

Learning how to secure the bell
Paula sent me a note later, which is always appreciated.
“You did an OUTSTANDING job on the horn! I couldn’t be happier. Plays very well…LOVE the duck’s foot and the pinky. You really rock! I am going to be ONE HAPPY HORN CAMPER!!!”
I just love a happy camper. Good luck, Paula!
Complete!


I really love my “new” screw bell horn. The work Randy does is outstanding. My french horn really does perform better now that it did before. I love traveling with it in my compact backpack. Randy is truly a master craftsman. And, yes, he has a great “bedside manner” too.